Drains And Render
Click on an image to see a larger version
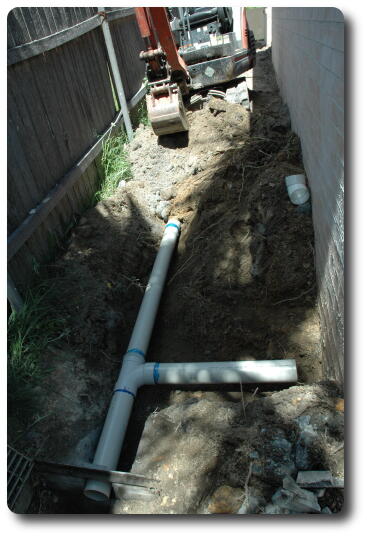
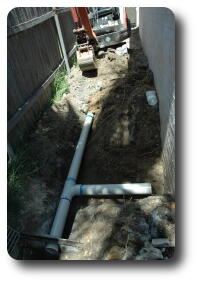
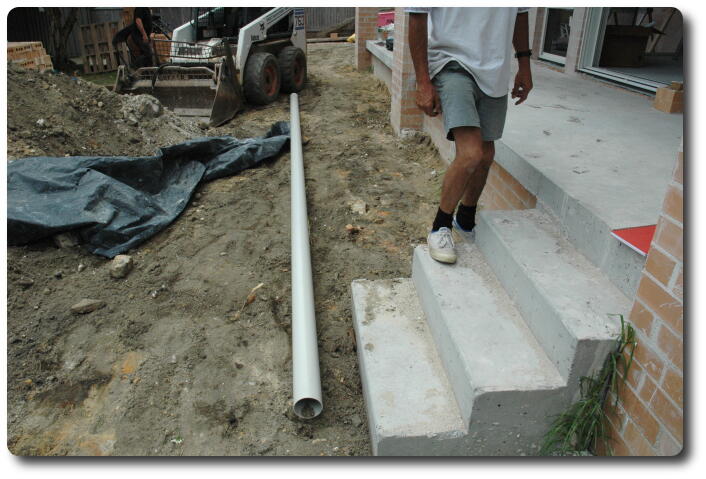
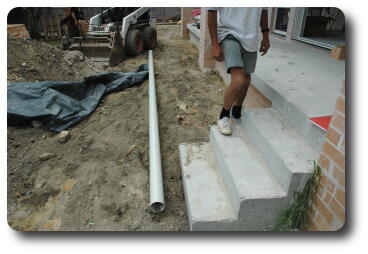 Last Friday, Chris and Phil (the dirt moving man) performed a
little plumbing to connect the drain pipe from the western wall
around to the connection to the storm drain (under driveway) to carry the water
away. This also takes water from the pit pump under the porch.
Although present on Friday, I did not have my camera to record
the location of the pipe. So, Chris (whose lower half is visible)
placed the pipe on the ground over where the buried pipe is located.
More or less. Certainly close enough to find it again later.
Last Friday, Chris and Phil (the dirt moving man) performed a
little plumbing to connect the drain pipe from the western wall
around to the connection to the storm drain (under driveway) to carry the water
away. This also takes water from the pit pump under the porch.
Although present on Friday, I did not have my camera to record
the location of the pipe. So, Chris (whose lower half is visible)
placed the pipe on the ground over where the buried pipe is located.
More or less. Certainly close enough to find it again later.
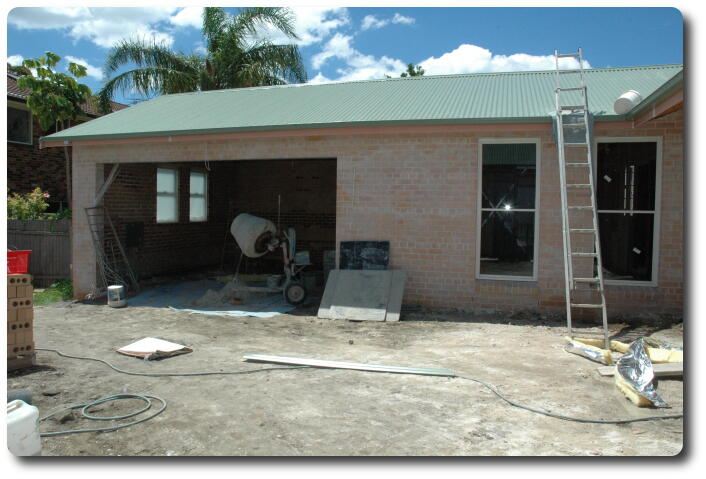
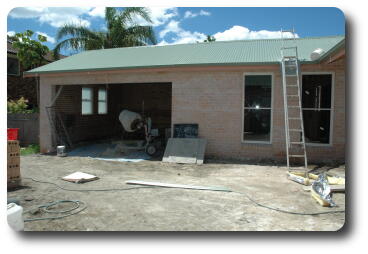 Notice the roof guard has gone! This is good news on many fronts,
not the least being that the eaves may now be completed. Mostly
I took this photo to try various colour garage doors by inserting
them into the image. But at least it's beginning to look like
a finished house!
Notice the roof guard has gone! This is good news on many fronts,
not the least being that the eaves may now be completed. Mostly
I took this photo to try various colour garage doors by inserting
them into the image. But at least it's beginning to look like
a finished house!
 At the north east corner of the garage, looking south, showing the drains
for roof water connecting into the existing storm water drain
at the corner of the property. Phil had his "small machine"
today to fit up the side of the house to dig the trenches.
At the north east corner of the garage, looking south, showing the drains
for roof water connecting into the existing storm water drain
at the corner of the property. Phil had his "small machine"
today to fit up the side of the house to dig the trenches.
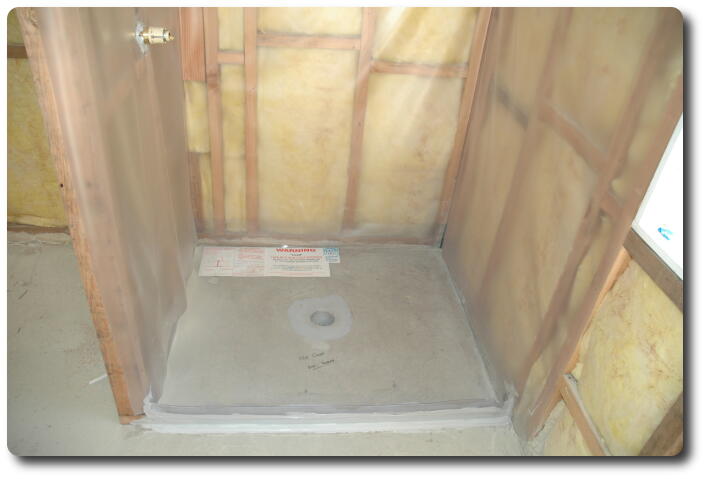
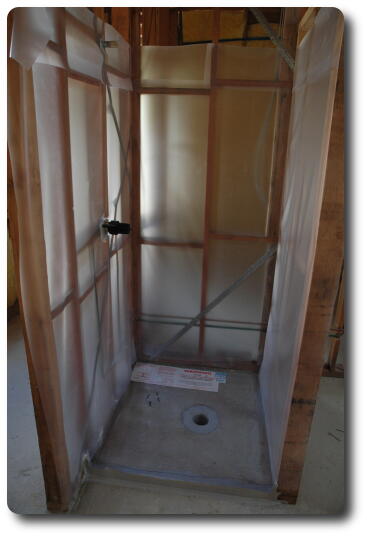
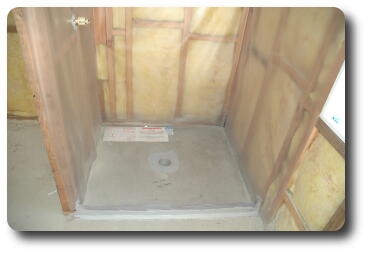 The ensuite shower tray has been installed. This is plastic,
making it corrision proof. And the sides have a plastic sheet
over them too.
The ensuite shower tray has been installed. This is plastic,
making it corrision proof. And the sides have a plastic sheet
over them too.
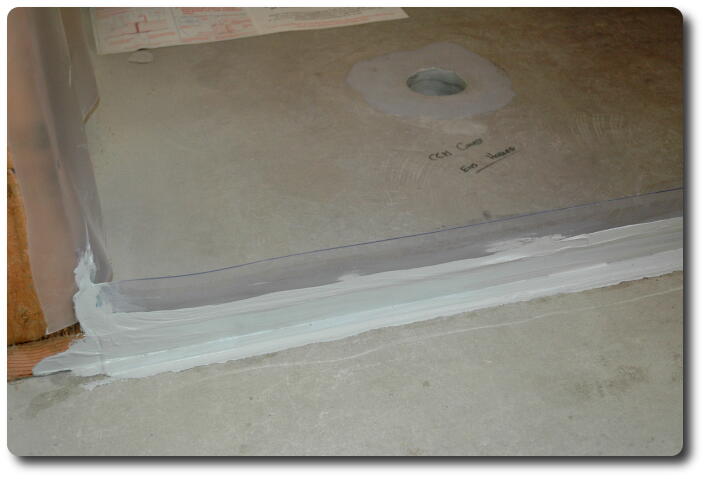
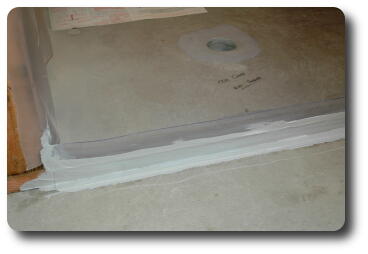 A close up of the front of the tray, and the water barrier on the
walls. Note that the top of the plastic sheet is trimmed to floor
level once the tiles go down (on both sides).
A close up of the front of the tray, and the water barrier on the
walls. Note that the top of the plastic sheet is trimmed to floor
level once the tiles go down (on both sides).
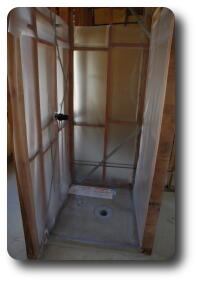 The shower stall in the bathroom. Same treatment, but this one
shows the whole operation.
The shower stall in the bathroom. Same treatment, but this one
shows the whole operation.
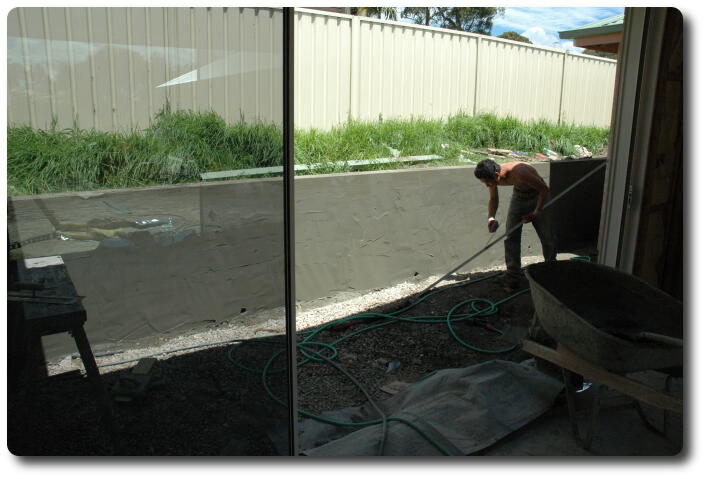
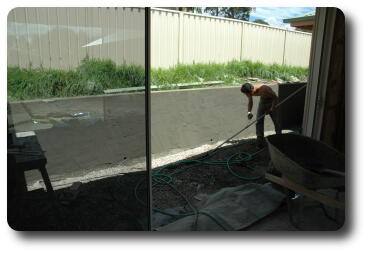 The back wall has been cement rendered. One of the render crew is
cleaning a tool used to finish the render to an even level. It is
a flat piece of metal (as best I could tell) to shave off the rough
spots on the wall. This part of the wall has not been smoothed yet.
After this, they started on the two brick walls inside the garge.
When done, the garage floor can be poured! And the door installed.
That's why I wanted the photo above to test the colours of garage
doors against the brickwork.
The back wall has been cement rendered. One of the render crew is
cleaning a tool used to finish the render to an even level. It is
a flat piece of metal (as best I could tell) to shave off the rough
spots on the wall. This part of the wall has not been smoothed yet.
After this, they started on the two brick walls inside the garge.
When done, the garage floor can be poured! And the door installed.
That's why I wanted the photo above to test the colours of garage
doors against the brickwork.
 Last Friday, Chris and Phil (the dirt moving man) performed a
little plumbing to connect the drain pipe from the western wall
around to the connection to the storm drain (under driveway) to carry the water
away. This also takes water from the pit pump under the porch.
Although present on Friday, I did not have my camera to record
the location of the pipe. So, Chris (whose lower half is visible)
placed the pipe on the ground over where the buried pipe is located.
More or less. Certainly close enough to find it again later.
Last Friday, Chris and Phil (the dirt moving man) performed a
little plumbing to connect the drain pipe from the western wall
around to the connection to the storm drain (under driveway) to carry the water
away. This also takes water from the pit pump under the porch.
Although present on Friday, I did not have my camera to record
the location of the pipe. So, Chris (whose lower half is visible)
placed the pipe on the ground over where the buried pipe is located.
More or less. Certainly close enough to find it again later.