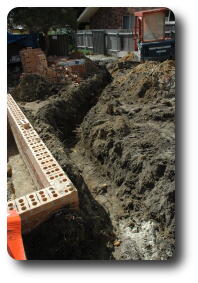
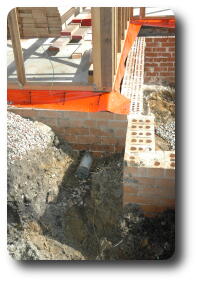
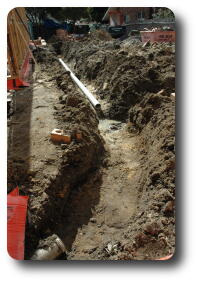
The left image shows view from the other end of the trench. The water tank goes
to the left of the brick wall; on the bottom side of the image
is where the line from the kitchen sink comes out to join the
sewer line, as shown in the right hand image.
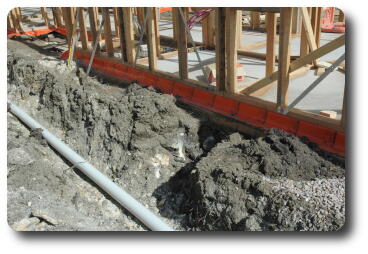
 The trench continues towards the front door; this photo was taken
from the side of the hall closet, looking north.
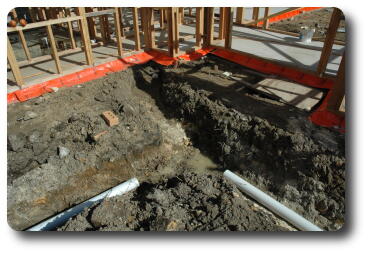
 The sewer from the powder room comes out near the north wall of the
pantry, as shown here.
 There's a meeting of the pipes outside the front door - that on the
left comes from the bathroom (east wing), the one on the right heads
off to the sewer main, and the third side connects to the ensuite
and laundry.
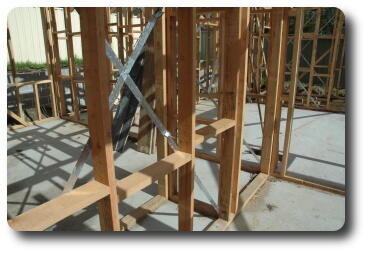
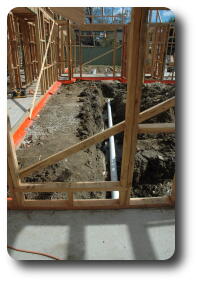 The view through the bathroom showing the pipe leading towards
the front door. The larger hole in the framework is for a window.
Other Stuff
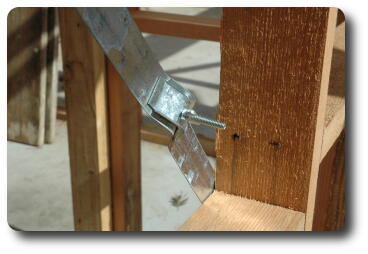
There are a number of metal braces attached to the framework. The
photo on the left shows the tightening scheme - the curved part
with the bolt and wingnut is attached to the strip. As the wingnut
is tightened, the strip is pulled in, thus increasing the tension
on the strip by making it shorter (in the plain of the strip).
This is far more practical than trying to attach the strip with the
appropriate tension.
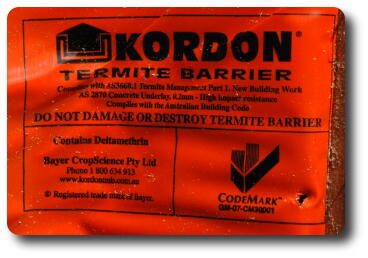 The termite barrier.
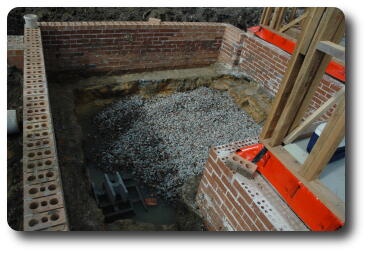 The water tank area has been dug out a bit further and gravel placed
in the base. This is to allow any seepage to stay below the bladder
and feed into a sump which has a pump to keep the water level low.
The sump area is located near the letter 'H' in the lower left;
the 'H' is actually a cement block left over from the retaining wall.
The pump will empty into the stormwater drain.
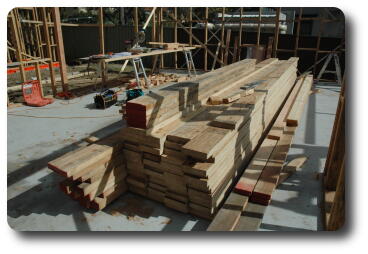 A new wood delivery - which arrived just before yesterday afternoon's
storm. Fortunately there was not much rain with the storm.
Most of this is for the roof structure above the kitchen/family/dining room.
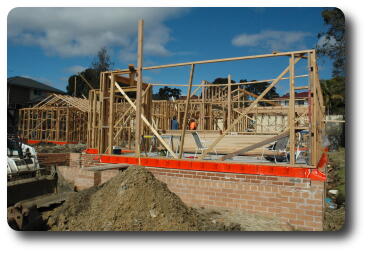 Note the new higher post in the northern wall of the family room.
It's the support for the main beam along the top of the roof.
You can see another at the other end of the dining room.
The beam which sits on the top of this will form the top of the roof,
and thus the maximum height of the house.
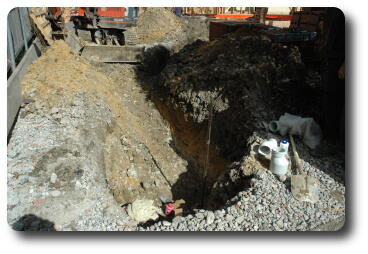 After a busy week of sorting out various details, this
morning I collected the mixer taps for the showers, ordered
additional outdoor tiles for the front door area, then arrived
at the site. To find Phil digging it all up. And Dave
the plumber directing it. It was time to place the sewer lines,
specifically connect the pipes from under the slab to the sewer main.
The connection point is underneath the pink bottle at the bottom
of this image.
