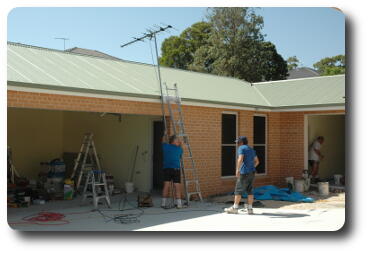
 Having completed the assembly, it's time to move the antenna into
position on the roof.
Today's theme seemed to have much to do with wires, of one sort or another.
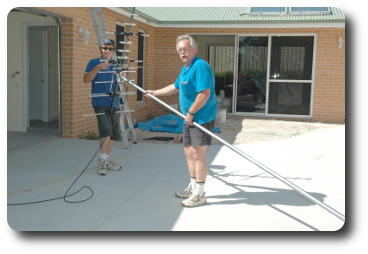 The two installers for the TV antenna. Sadly, I forgot to ask
their names, so anonymity is the name of the game. Here they are
preparing the antenna by mounting it to the pole and attaching the
cable to bring the signal down.
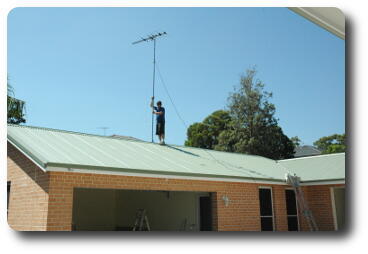 Not quite as impressive as the raising the flag on Iwo Jima during
WW II, but now the antenna is at full height. It's pointing the
wrong direction, but the height is correct. And why is it so high?
Regardless of where the antenna was mounted on my home, the line
to the TV transmitters passed through the two storey house adjacent
to the garage - to the left of this image. So, if you can't go around,
then go over! The reception should be first rate!
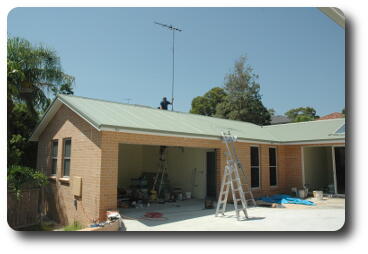 Now it's positioned, so time to feed the cable into the house. It runs
under the ridge capping, meaning that it runs uphill to get into the
roof, thus preventing water running into the roof space. Which is
a very good idea - soggy ceilings and/or insulation is not a good thing.
Though given how long it's been since we had a decent rainfall, it may
be quite a while before we find out.
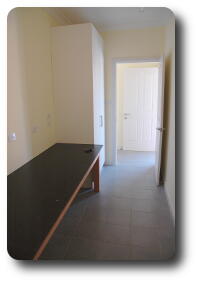 The workshop area now has a bench and cupboard! The wood on the bench
top is quite amazing. Sandro (the owner of the joinery) has a sample
sitting outdoors, half in a bucket of water, and it has been that way
for years with barely any changes! It comes from Portugal (or possibly
Spain), and is some sort of plywood. And it has an almost
indestructible finish. Sandro wasn't sure if there was any more available;
I think a large amount was imported for some job, and what's left
over is all that's available.
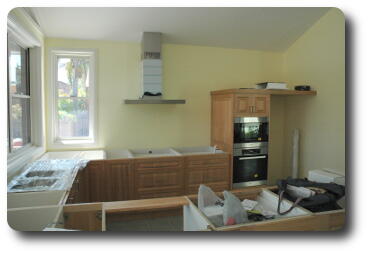 And the range hood is in position. It's more a case of making sure
it will fit, and where does the exhaust go, and what does it hit, etc.
The exhaust will come out through the eaves - thus avoiding an ugly
vent on the wall, or a pipe through the roof (with the likelihood
of a leak at some future time).
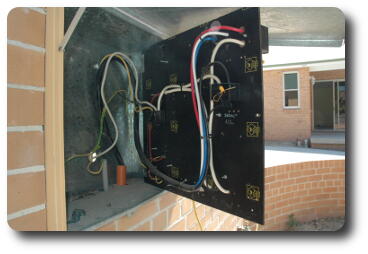 Craig has been quite busy the last few days, finishing off the wiring
(of which there is much!). This photo is the back of the "temporary"
or builder's switchboard. It will be replaced and/or rewired now that
the house wiring is ready for prime time. The wiring from the street
comes in the orange conduit; this board will only contain the meter
and appropriate fuses etc. The power then feeds into the "user"
switchboard (see below) inside the garage. The thick white wire
coming through the back is the feed into the internal board. NOTE
that there are 4 white wires now - this photo was taken after
the first was installed. Why 4? The feed from the street is
3 phase - which may or may not be required. But it's much easier
to install now rather than replacing the wire in the underground
conduit later.
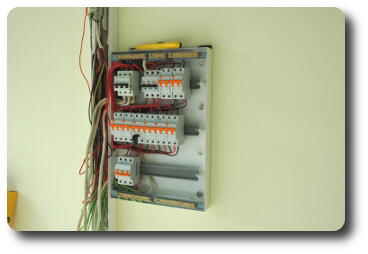 The internal switchboard, without it's cover. This is some European
style board; the breakers clip onto the plastic mounting strips
(the darker colour strips running horizontally). There were bus
bars available to connect the feed into the breakers, but they
would not be of much use, as these breakers are also GFCI (?) types,
which require both active and neutral wires.
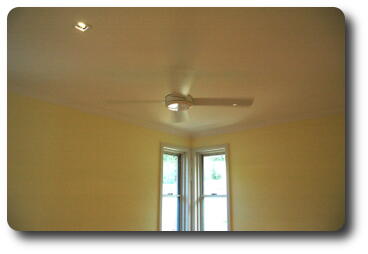 Not only is there light in bedroom 4, but there's wind too! The
ceiling fan is running. And it felt good, as it was a hot and
rather humid day - the breeze felt really good. [I was wishing I
could have spent the night here - my rental home does not have
ceiling fans.]