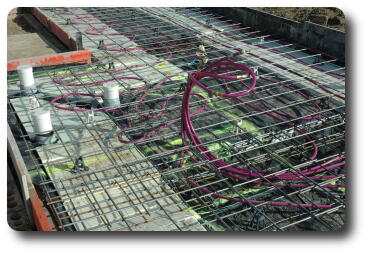
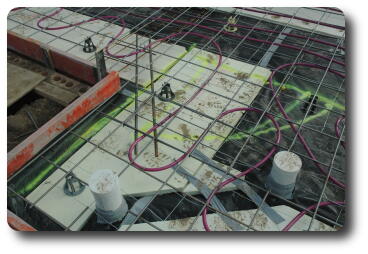
 A detailed view of the north east corner. The black material
is a water proof layer to keep moisure from the ground out of
the concrete. The white pieces around the edge are insulation,
to reduce heat losses from the slab (if and when heated). Most
heat loss is from the edges of the slab, and the 600mm width
here is the recommended width to reduce that loss. The pink
tubing is the Rehau tubing used for the slab heating; it is
tied to the thin mesh by the insallers; then Garry and Ryan
place the heavy mesh over the top, then tie the thin mesh
and the pipe to the underside of the thick mesh. Then it
is all held up by the plastic risers.
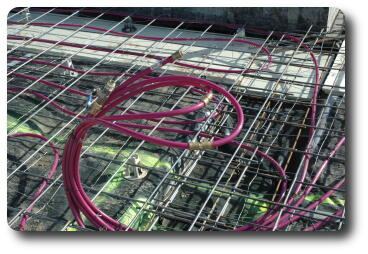
The above 2 images show the heating pipes coming out of the floor
(to be) in one of the walls of the pantry. There will be a manifold
here to control the flow of water into each of the circuits. This
creates a more uniform temperature in the floor.
For now, the pipes are just coupled together and pressurised, to
detect any leaks. The pressure will be tested tomorrow after the
pour to detect if the piping has been breached. Not expected, but
it's better to find out sooner rather than later.
 There will be another manifold for the eastern side of the house.
This is located in the cupboard outside bedroom 3. Note that the
bedrooms will not use a heated floor, for a number of reasons.
Wall radiators will be used instead; they heat the room much faster,
and allow individual room temperatures to be set. It also avoids
issues with a wooden floor on a heated slab.
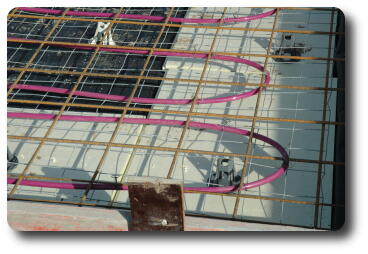
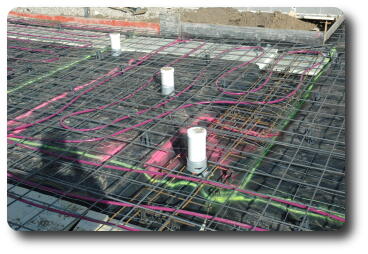 The heating under the laundry floor.
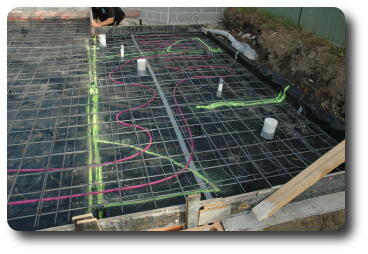 The heating circuit under the en-suite floor. In the background,
Garry is marking the floor level in the formwork to help the
concrete pour tomorrow.
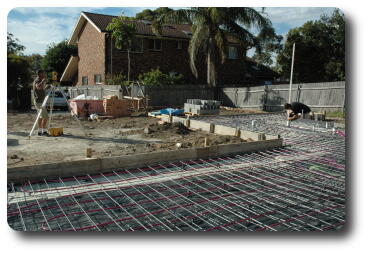 Ryan (left) and Garry were placing marks on the formwork to assist
the concreters pour to the correct level. Elementary surveying,
but having a level floor, of the proper thickness, is pretty important!
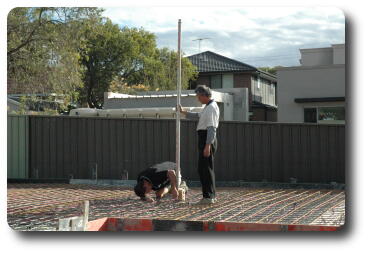 While Ryan manages the observing station, Chris holds the height stick
vertical while Garry moves it up and down until Ryan says "OK".
The height is being indicated on a brick sitting on the plastic sheeting.
This is a temporary measure to assist the concreters during the pour.
The bricks (there are several others in large areas) will be removed
as the pour progresses.
 The diagonal reinforcing rods are to prevent cracks forming in the
concrete at the corners such as this one by the front door.
 Building A Home
 The Big Pour II
 The Great Cover Up
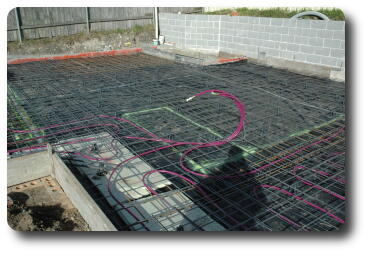
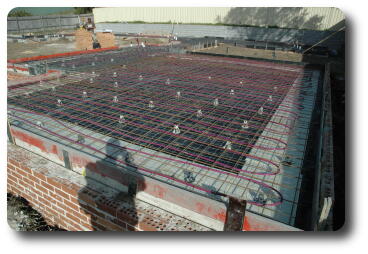 July 17th was the day for the hydronic heating pipes to be installed
before the concrete slab is poured. And since that was scheduled
for the 18th, there wasn't much choice of date. This view shows
what will be the family/dining/kitchen area. This is looking
south east, from the north west corner of the house.

